Beekeeping Basics: Harvesting Honey Step by Step
Harvesting honey is one of the most rewarding parts of beekeeping. Whether you’re a beginner or an experienced beekeeper, following the proper steps ensures that the honey you collect is pure, clean, and ready for consumption. Here’s a detailed step-by-step guide to help you harvest honey efficiently and safely.
1. Choose the Right Time to Harvest
The timing of your honey harvest is crucial:
- Mature Honey: Harvest when at least 80% of the honeycomb cells are capped with wax, indicating that the moisture content is low enough to prevent fermentation.
- Seasonal Considerations: Late spring to early summer is typically the best time, depending on your region and the flowering cycles.
Tip: Avoid harvesting during rainy periods, as excess moisture can affect honey quality.
2. Gather the Necessary Tools
Having the right equipment makes the process smoother:
- Beekeeping suit and gloves
- Smoker
- Hive tool
- Bee brush
- Honey extractor or centrifuge
- Uncapping knife or fork
- Food-grade buckets with lids
- Fine mesh strainer or cheesecloth
Tip: Ensure all tools are clean and sanitized before use to maintain honey purity.
3. Calm the Bees with a Smoker
Use a smoker to calm the bees before opening the hive:
- Light the smoker with dry fuel such as wood shavings or pine needles.
- Puff smoke lightly around the entrance and over the top of the hive to distract and calm the bees.
Tip: Avoid over-smoking, as it can stress the bees unnecessarily.
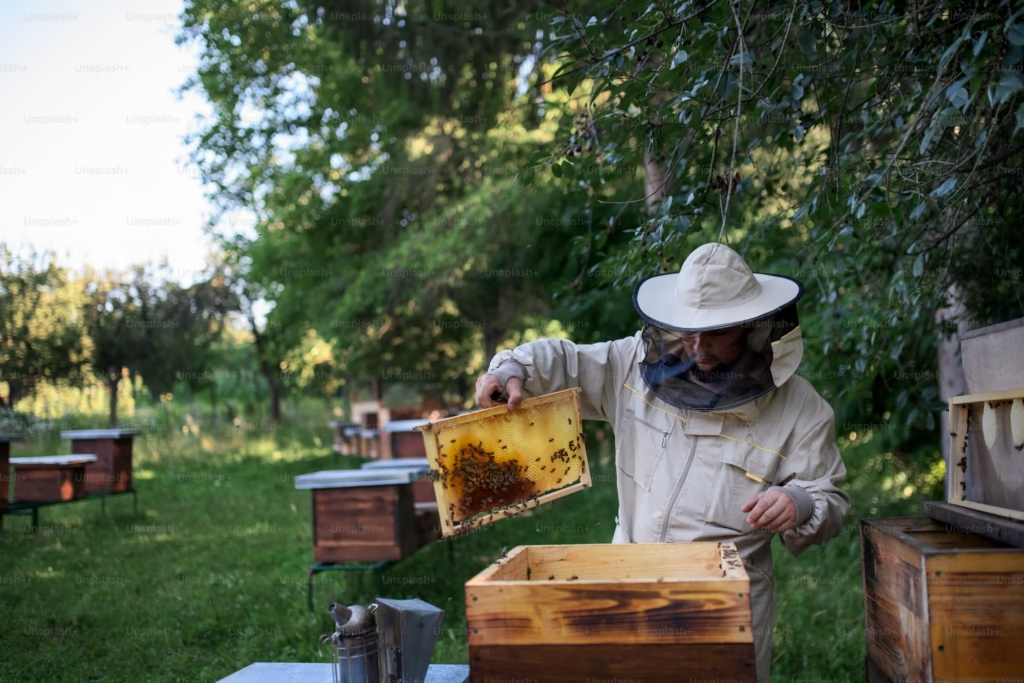
4. Remove the Honey Frames
- Open the hive gently using the hive tool.
- Identify frames with capped honeycomb.
- Use the bee brush to gently sweep bees off the frames, or place the frame in a bee escape board to encourage bees to leave naturally.
Tip: Work calmly and confidently to avoid agitating the bees.
5. Uncap the Honeycombs
To extract the honey, the wax caps must be removed:
- Use an uncapping knife or fork to gently scrape or cut the wax layer off the honeycomb.
- Collect the wax caps in a separate container for later use (e.g., making candles or lip balm).
Tip: Warm knives or forks slightly for easier uncapping.
6. Extract the Honey
- Place the uncapped frames in a honey extractor.
- Spin the extractor to remove the honey from the comb using centrifugal force.
- Allow the honey to flow into a food-grade bucket through the extractor’s spout.
Tip: Manual extractors are ideal for small-scale operations, while electric ones work best for larger harvests.
7. Strain the Honey
To ensure the honey is free from debris:
- Pour the extracted honey through a fine mesh strainer or cheesecloth into a clean container.
- Remove any remaining bits of wax, pollen, or bee parts.
Tip: Strain the honey twice for extra clarity if needed.
8. Store the Honey Properly
- Pour the strained honey into sterilized jars or bottles.
- Seal tightly to prevent moisture from entering.
- Store in a cool, dry place away from direct sunlight to preserve its flavor and quality.
Tip: Label your jars with the harvest date and type of honey (e.g., wildflower, clover).
9. Clean the Equipment
After harvesting, clean all tools and equipment thoroughly to avoid attracting pests or contaminating future harvests.
Tip: Use warm water to dissolve honey residue, and let the equipment air dry completely.
10. Care for Your Bees Post-Harvest
- Leave enough honey for the bees to survive during the off-season. A colony typically requires 40–60 pounds of honey for winter.
- Check the hive for pests, diseases, or damage and address any issues promptly.
Tip: Supplement with sugar syrup if your hive is low on honey reserves.
Conclusion
Harvesting honey is a fulfilling process that connects you to nature and provides a delicious reward for your hard work. By following these steps and prioritizing the health and well-being of your bees, you can enjoy pure, high-quality honey while maintaining a thriving colony. Happy beekeeping!