How to Grow Rice: A Step-by-Step Guide
Rice is one of the most widely consumed grains in the world and can be grown at home or on a farm with the right approach. Whether you’re looking to cultivate a small batch for personal use or starting a larger-scale farm, this guide will walk you through the essential steps to grow rice successfully.
1. Choose the Right Variety of Rice
Rice comes in different varieties, such as basmati, jasmine, and japonica, each suited to specific climates and purposes. Select a variety that grows well in your local conditions and meets your desired use.
- Indica Varieties: Thrive in warmer climates.
- Japonica Varieties: Suitable for cooler climates.
Tip: Consult local agricultural resources to identify the best variety for your region.
2. Understand the Growing Conditions
Rice requires specific environmental conditions to thrive:
- Warm Temperatures: 70°F to 90°F (21°C to 32°C) during the growing season.
- Plenty of Water: Rice fields are often flooded to ensure proper growth.
- Soil Type: Loamy or clay-rich soil with good water retention is ideal.
3. Prepare the Land
Proper preparation of the growing area is crucial for successful rice cultivation.
- Plowing: Till the soil to aerate it and break up clumps.
- Leveling: Flatten the land to prevent uneven water distribution.
- Flooding: Create a shallow layer of water (2-4 inches) over the field to simulate paddy conditions.
Tip: If growing rice in containers or small gardens, use a deep pot and fill it with nutrient-rich soil and water.
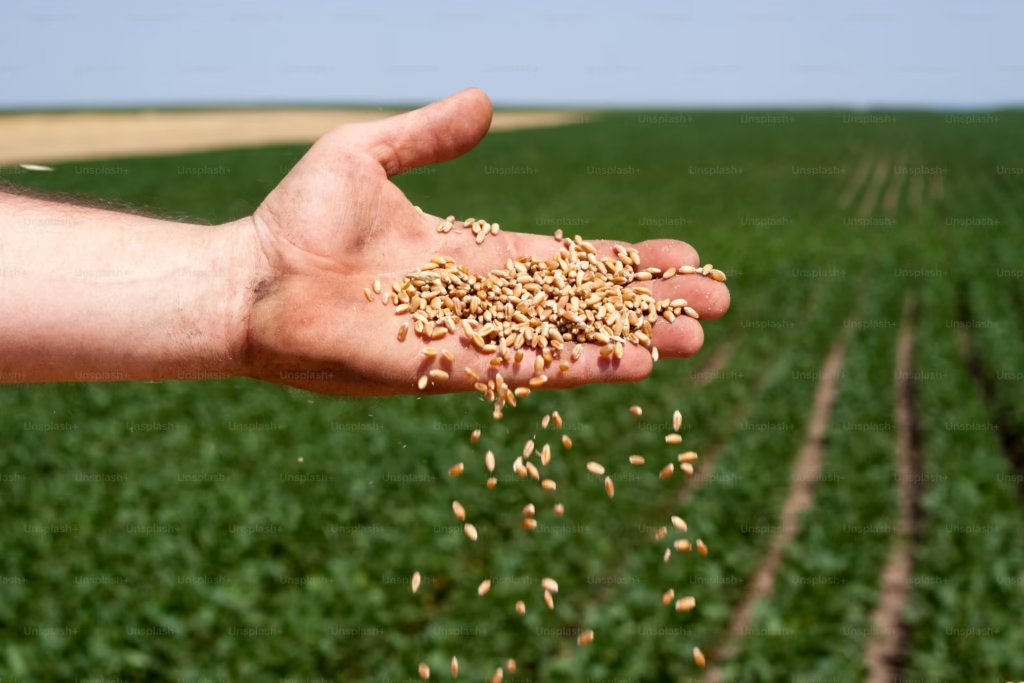
4. Soak and Germinate the Seeds
To ensure uniform germination:
- Soak the rice seeds in water for 24–48 hours.
- Drain the seeds and place them in a moist cloth for another 24 hours until they begin to sprout.
Tip: Avoid soaking the seeds for too long, as this can lead to rot.
5. Plant the Rice Seeds
- Broadcast Method: Scatter the sprouted seeds over the prepared field or container.
- Transplanting: Start seeds in seed trays and transplant the seedlings into the field when they reach 4-6 inches in height. Space the seedlings about 6-8 inches apart for optimal growth.
Tip: Transplanting is more labor-intensive but leads to higher yields.
6. Maintain Proper Water Levels
Rice is typically grown in flooded conditions to reduce weeds and pests.
- Maintain 2-4 inches of standing water in the field during the vegetative stage.
- Gradually reduce water levels during the ripening stage to allow the grains to mature.
Tip: Use a controlled irrigation system to ensure consistent water supply.
7. Apply Fertilizers
Provide nutrients to your rice plants for healthy growth:
- Nitrogen: Boosts growth during the early stages.
- Phosphorus: Supports root development.
- Potassium: Enhances grain quality and disease resistance.
Tip: Use organic compost or manure for sustainable farming.
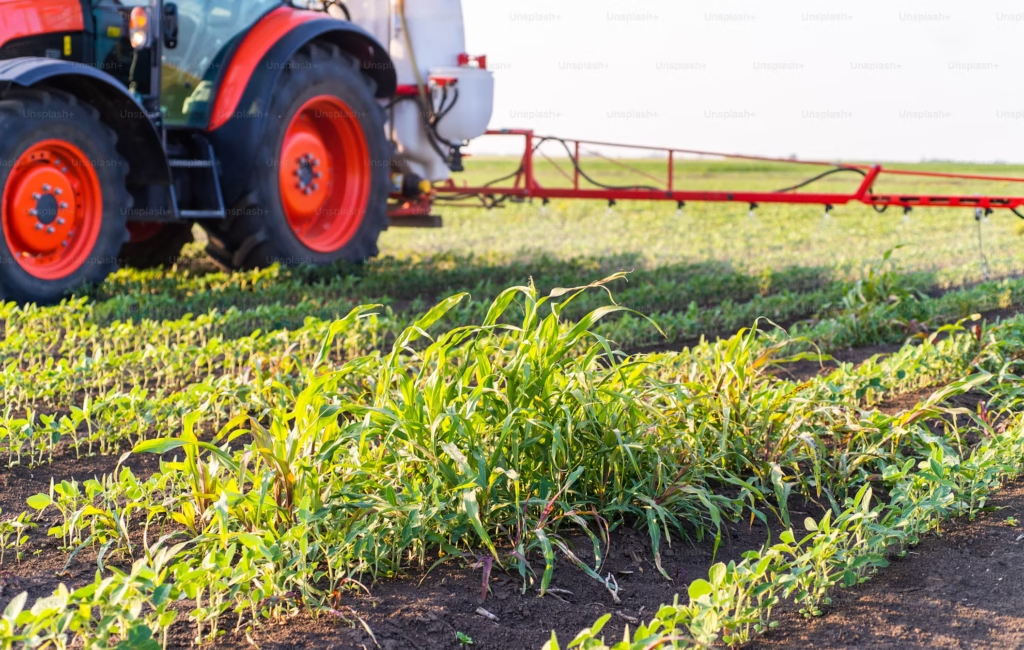
8. Weed Management
Keep your rice field free of weeds, as they compete for nutrients and water.
- Use manual weeding or herbicides to control unwanted plants.
- Maintain water levels in the field to suppress weed growth.
Tip: Early weeding, within the first 2–3 weeks, is crucial for high yields.
9. Monitor for Pests and Diseases
Common rice pests and diseases include:
- Rice Blast: Fungal disease causing lesions on leaves.
- Stem Borers: Insects that damage the stems.
- Brown Planthoppers: Sap-sucking pests that weaken plants.
Tip: Use resistant varieties, rotate crops, and apply eco-friendly pesticides to manage pests.
10. Harvest the Rice
Rice is ready to harvest when:
- The grains turn golden or brown.
- The plants dry out and droop slightly.
Harvesting Steps:
- Drain the water from the field.
- Cut the rice stalks using a sickle or a mechanical harvester.
- Allow the stalks to dry in the sun for 2–3 days before threshing.
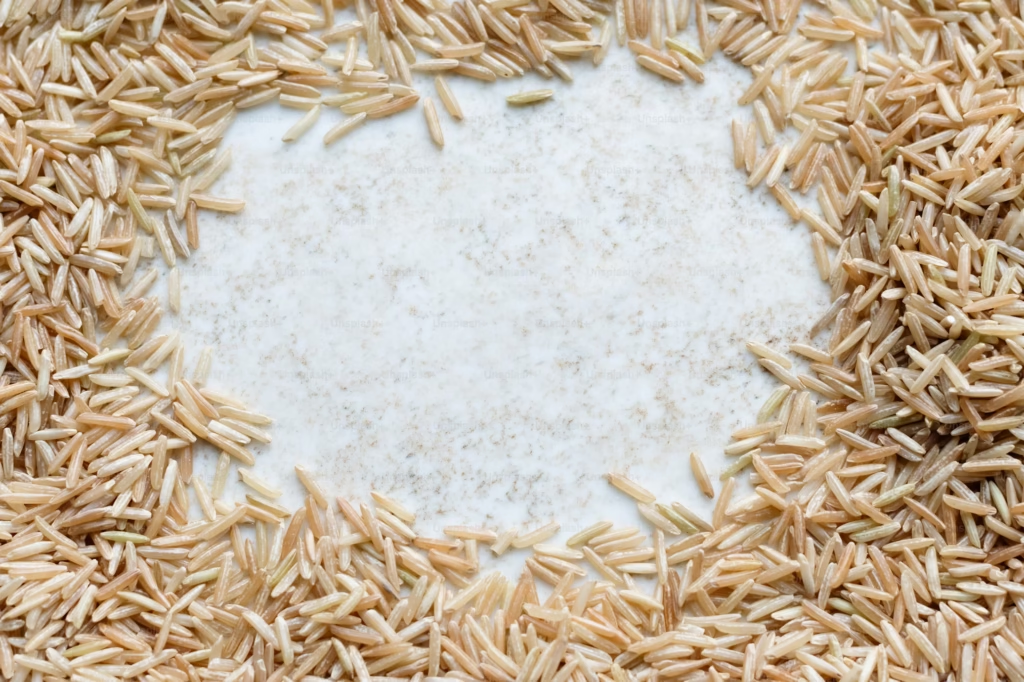
11. Process and Store the Rice
- Threshing: Remove the grains from the stalks using a manual or mechanical thresher.
- Drying: Ensure the grains are thoroughly dried to prevent mold.
- Storage: Store the dried rice in airtight containers or bags in a cool, dry place.
Tip: Proper drying and storage are essential to maintain the rice’s quality.
Conclusion
Growing rice requires patience and attention to detail, but the rewards are worth the effort. By following this step-by-step guide, you can cultivate a successful rice crop, whether on a small scale or as a commercial farmer. Start with the right variety, maintain proper conditions, and ensure timely care, and you’ll soon enjoy a plentiful harvest of this essential grain.